Oscilloscope Video Display
Converting an analog composite video signal to XYZ
Project published on December 22, 2025.Recent activity in the repo: 
After playing oscilloscope music the next obvious question that came up was: can we make it run Doom?
Turns out a couple of people already did that, even in different ways. The last link is just running normal Doom on a modern LCD osci, which seems a bit boring. Even more involved is modifying the game engine to output vectors, which has been done here or here, for Quake.
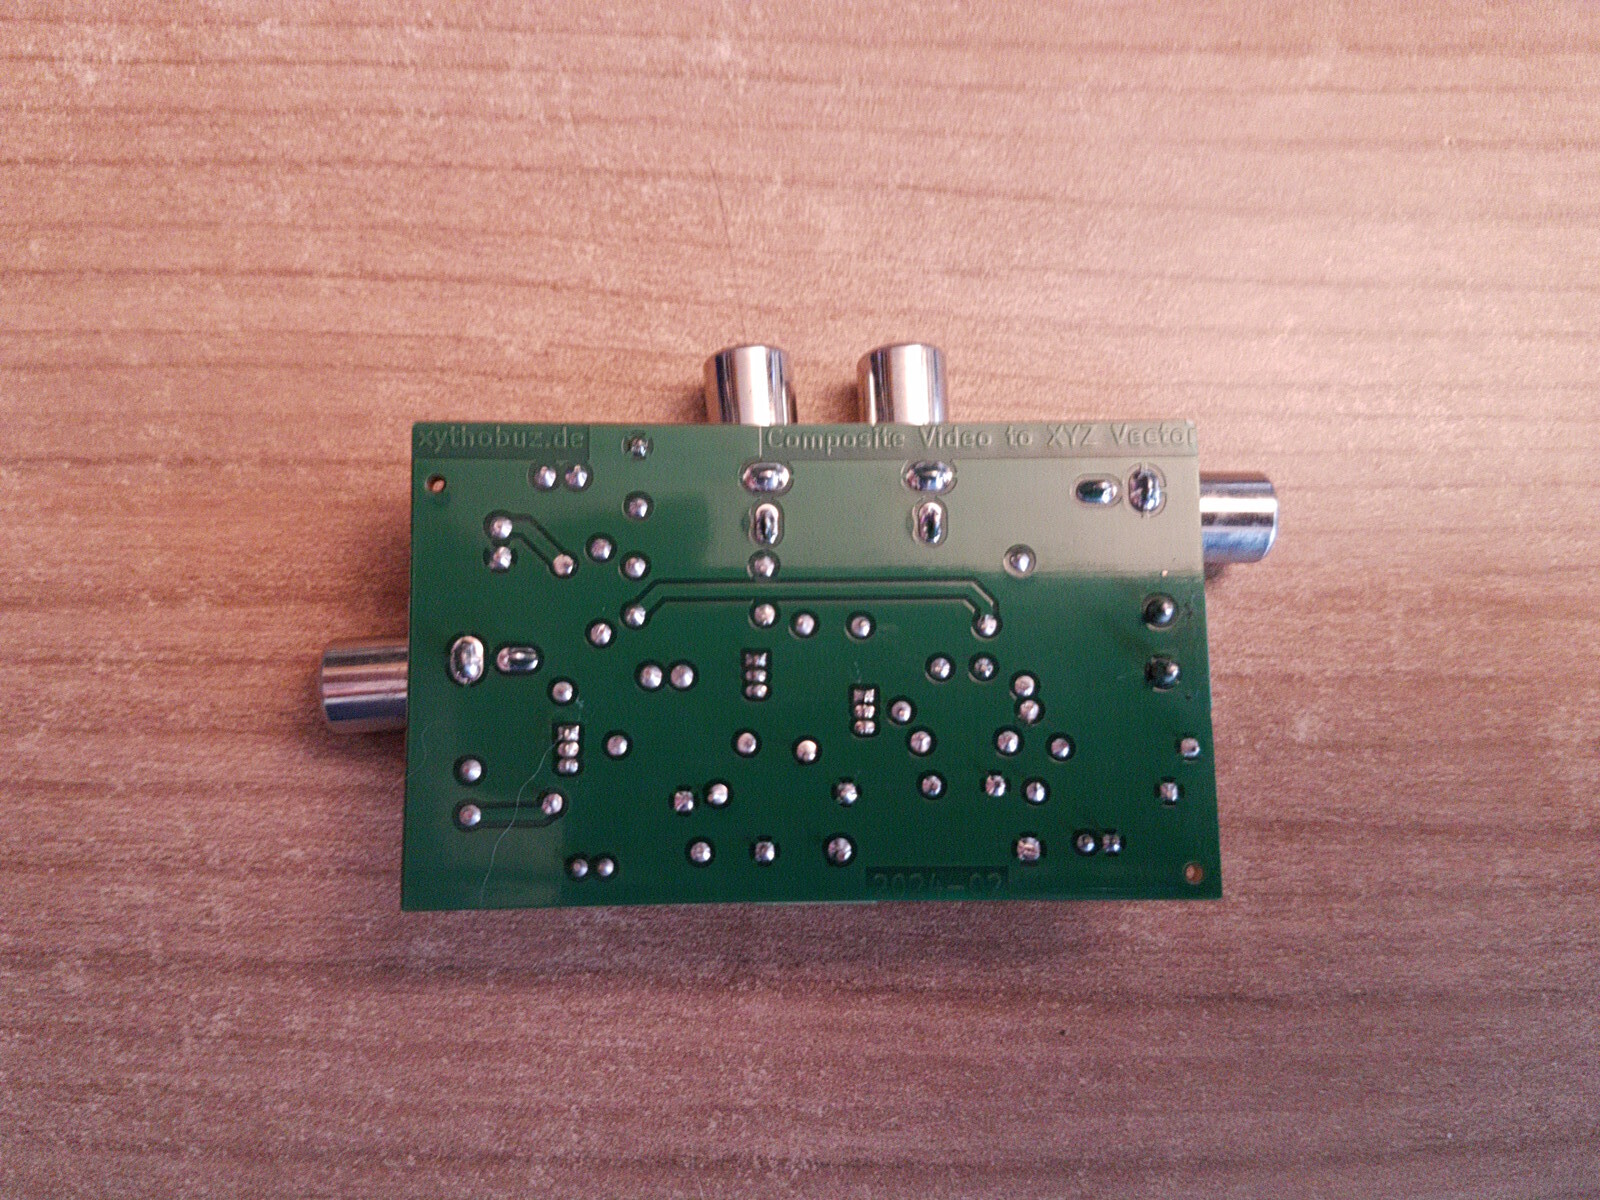
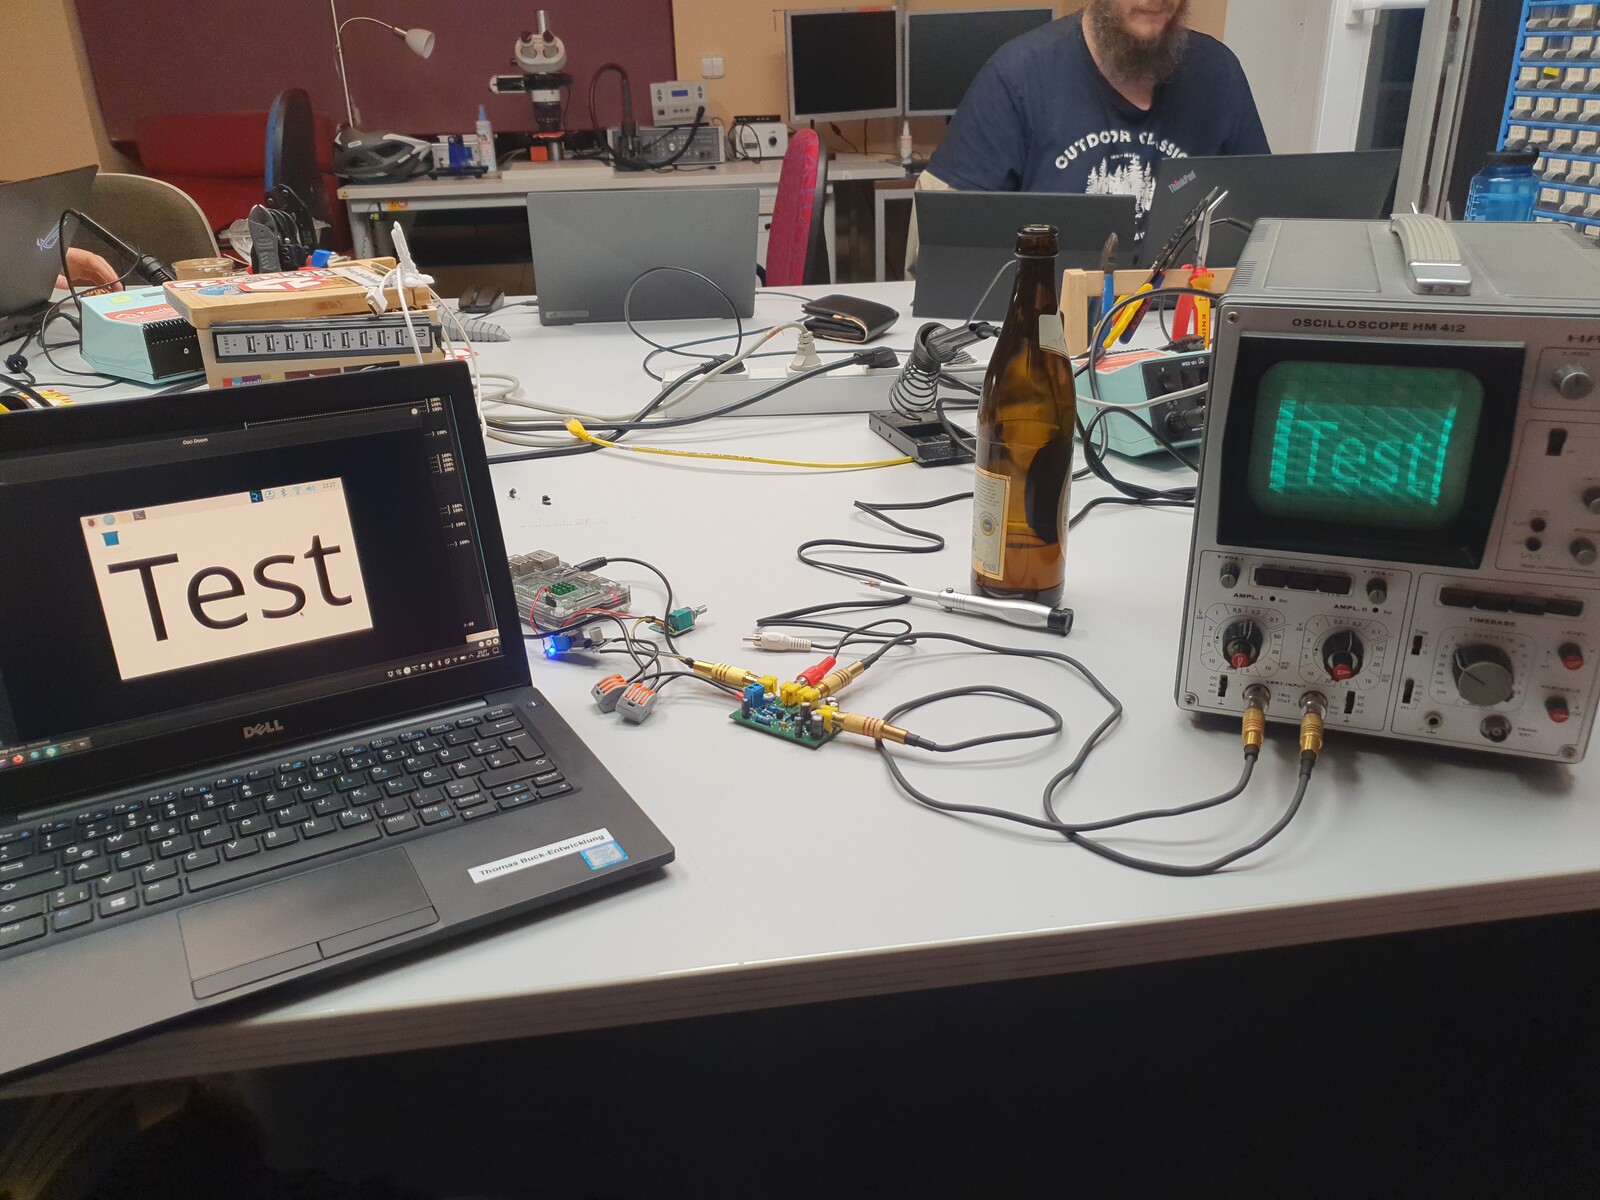
For this project I copied the circuit from the XYZ converter by MrSlehofer. The basic idea is to convert a CRT oscilloscope into a grayscale TV, by rastering each NTSC / PAL field line-by-line. So the X and Y channels contain saw-tooth waveforms, with the X frequency matching the horizontal blank period, and the Y frequency matching the vertical blank period. When Z is not connected you should therefore see something resembling a rectangular white 4:3 image. Then Z just needs to have the amplitude of the video signal, which corresponds to the brightness at that moment in time.
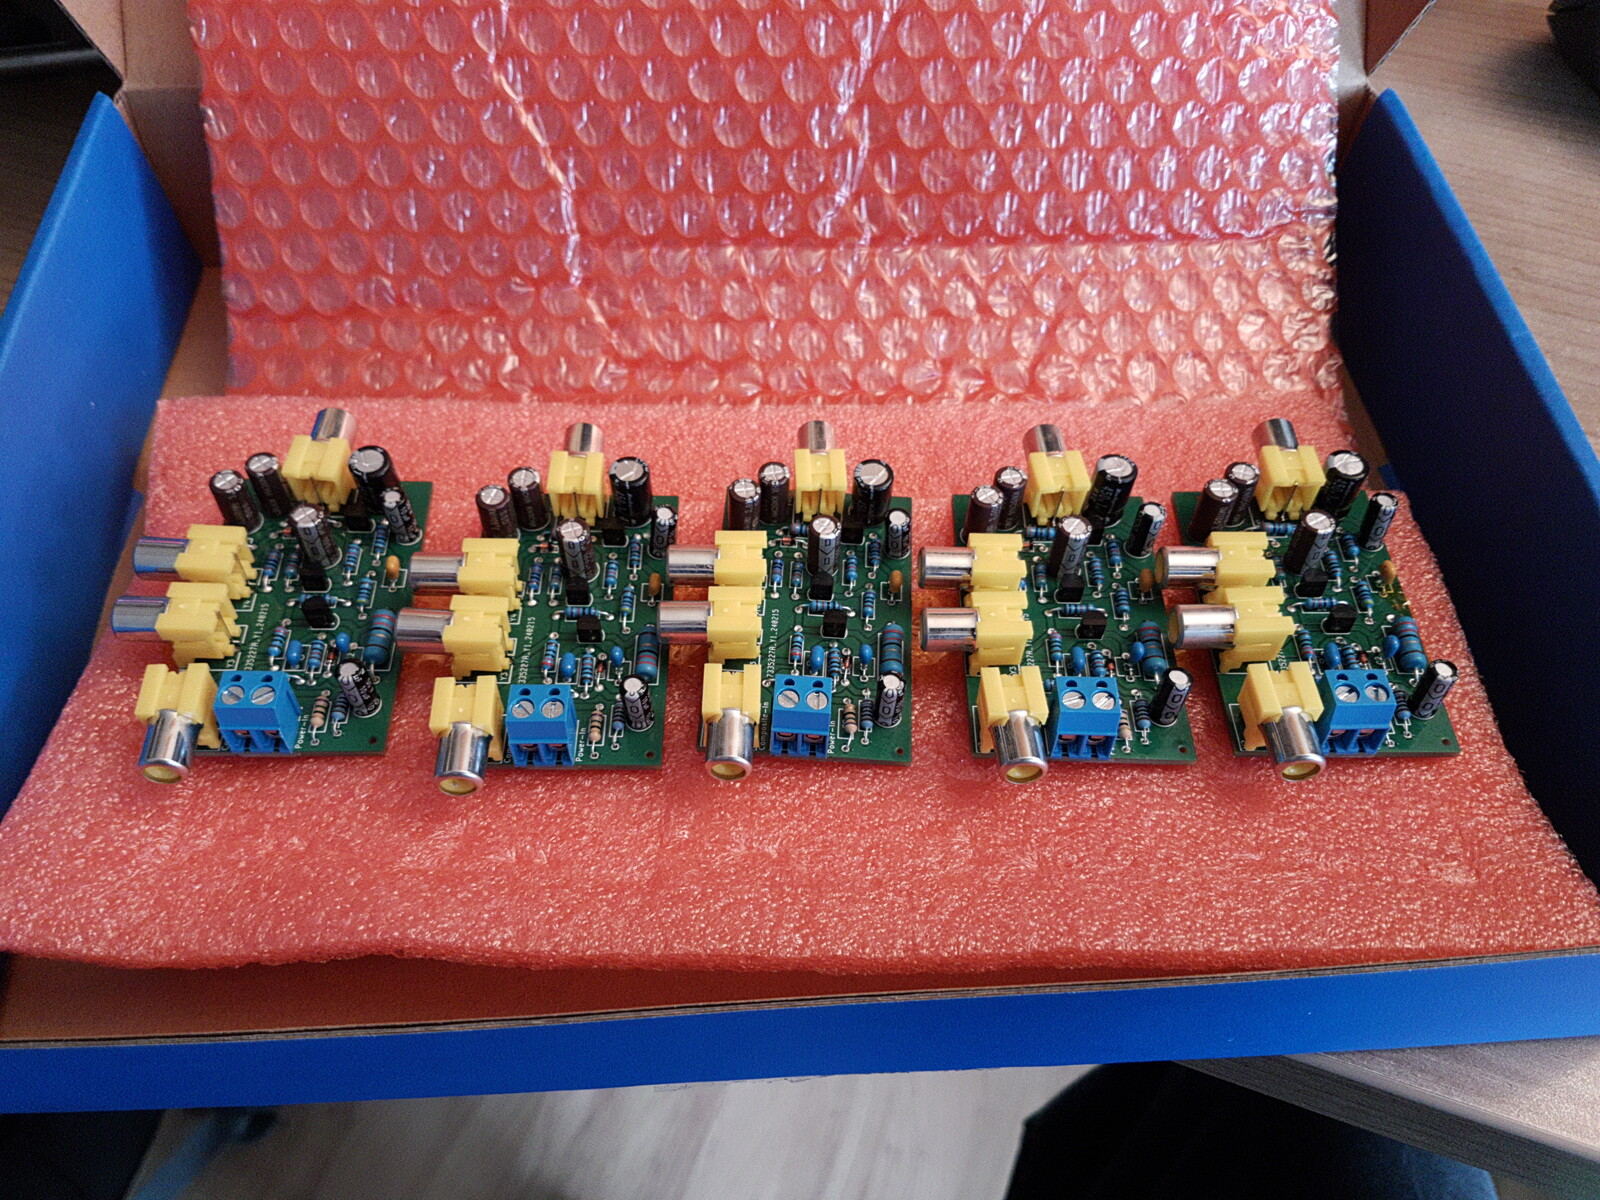
Just to test that process out for the first time I turned the PCB into a KiCad design that can be assembled by JLCPCB.
This worked out well.
If you want to order some as well, use the production_files from the repo.
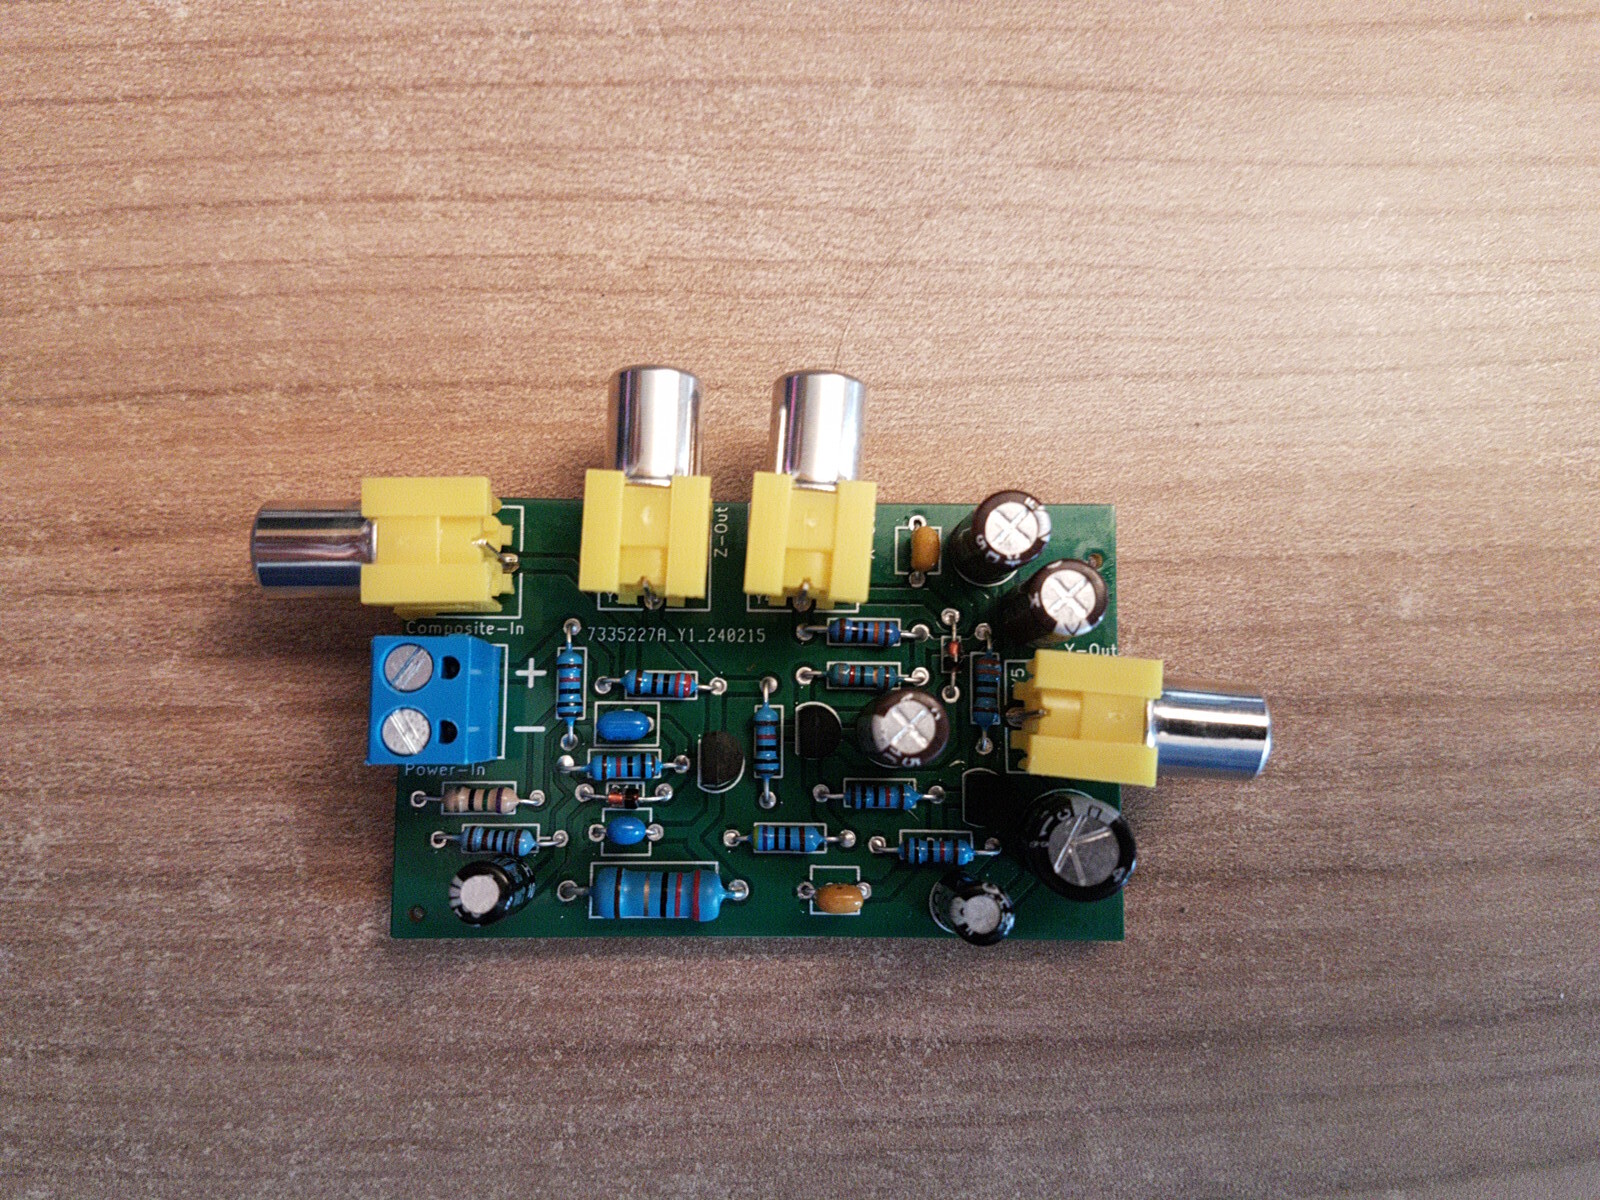
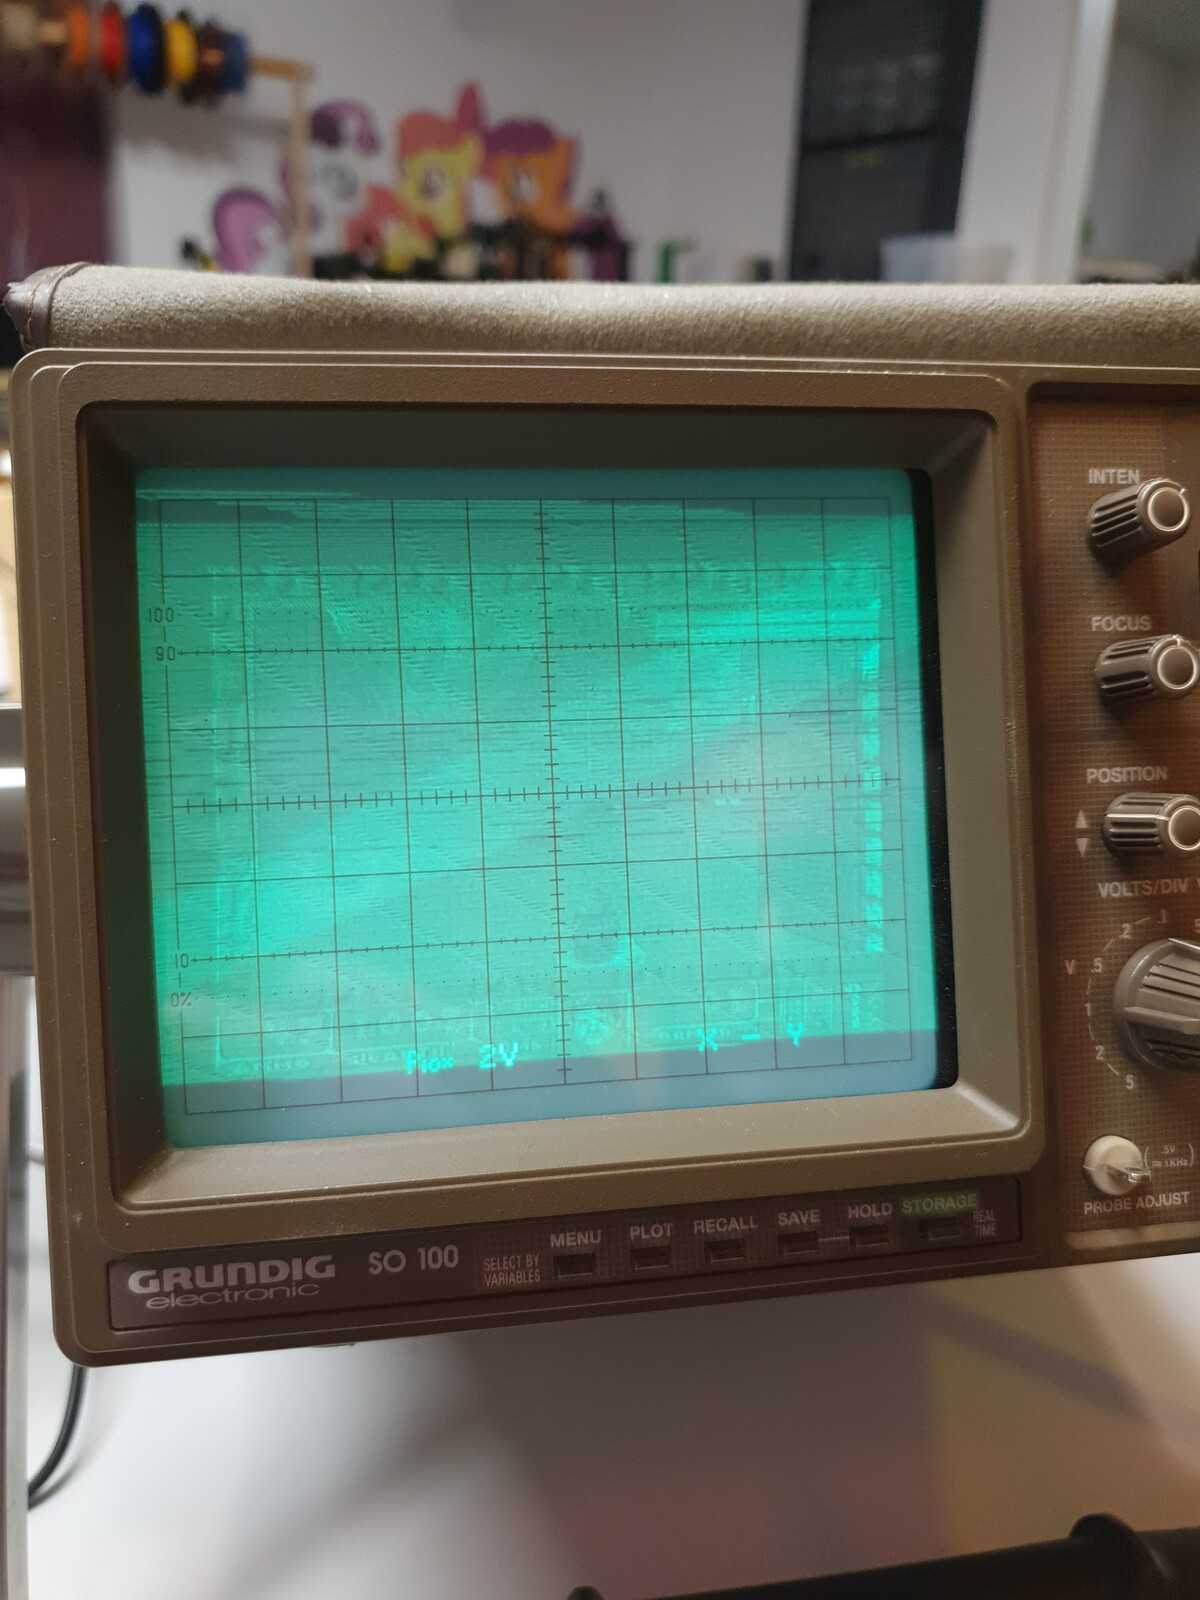
Initially I had some problems getting the circuit to work at all. The oscilloscope screen only showed some strange warbling lines or squares.
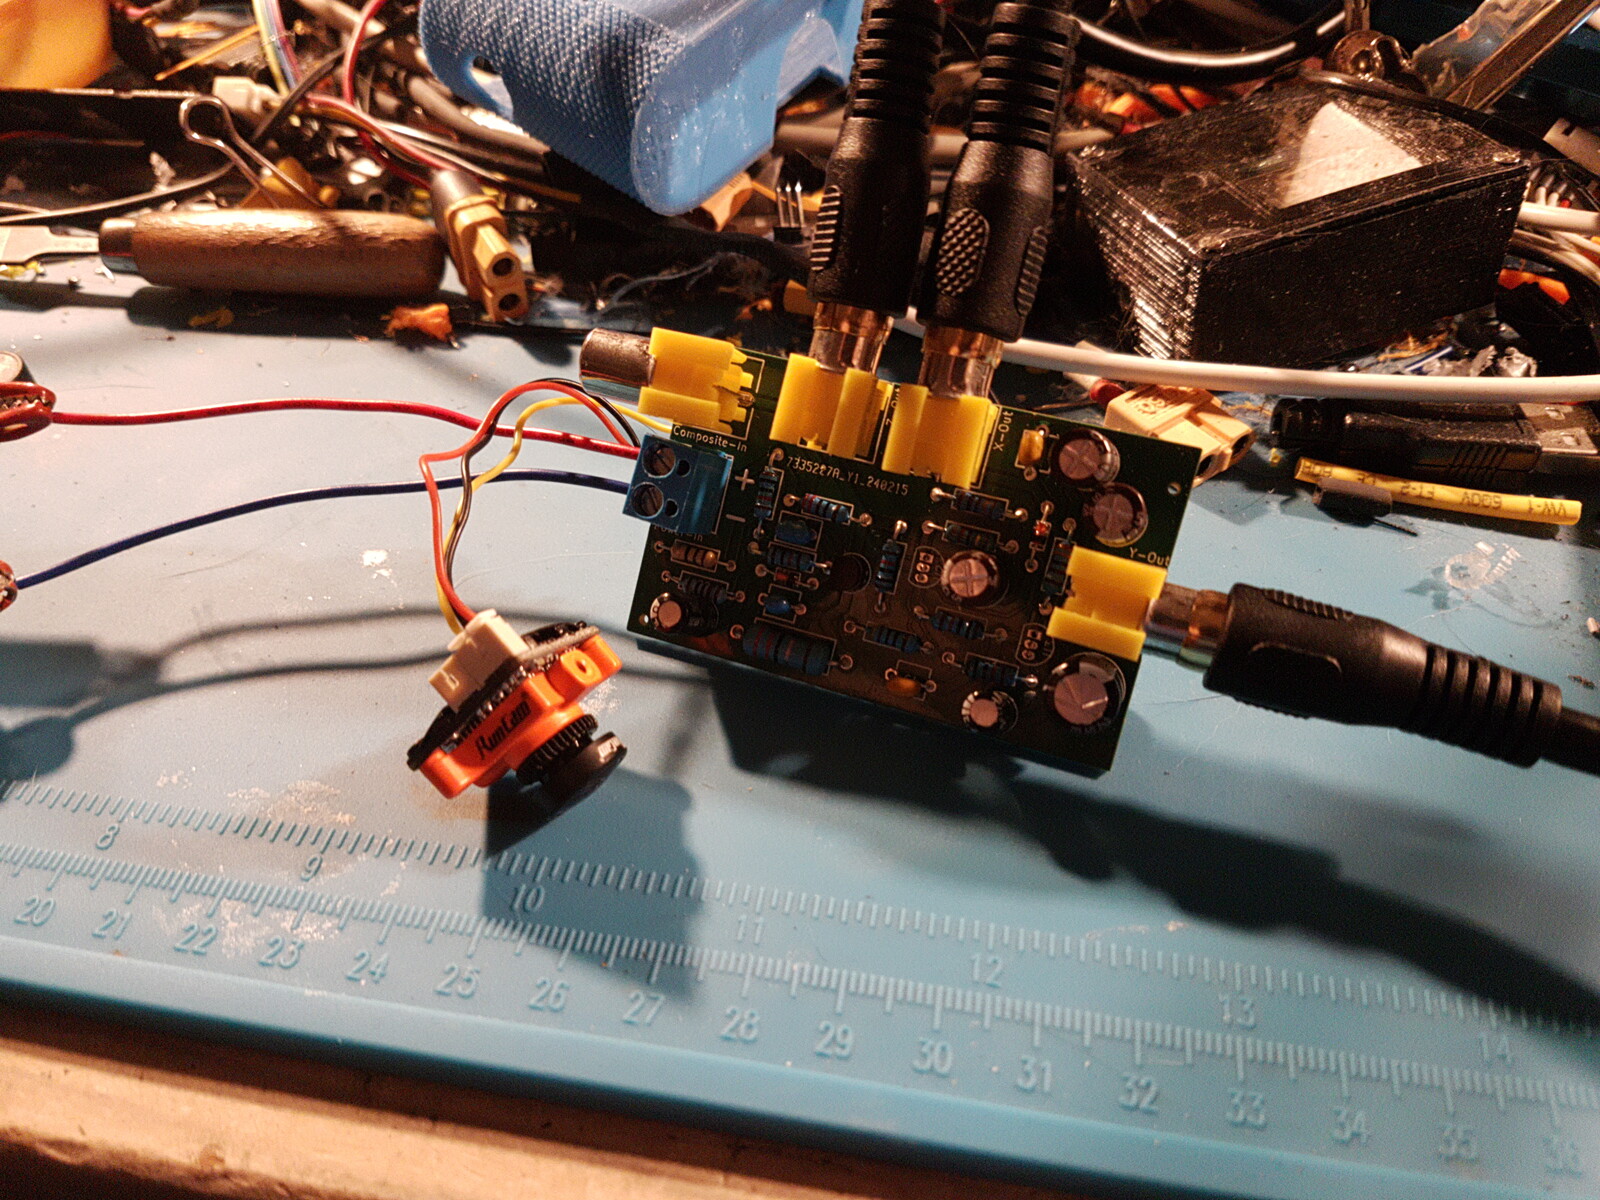

Turns out it is very susceptible to changes in voltage levels. Depending on the source you use to feed it you may need to adjust some resistance values. In the end I replaced two resistors with potentiometers. This allows easy on-the-fly adjustments. Try a 10k poti for R1, and a 100k Poti for R10. Big thanks to Walter (DL2OL) from the local ham radio club co-located at our makerspace for helping with tuning the circuit!

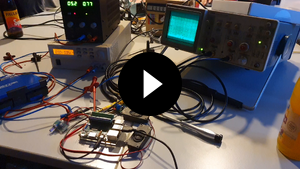
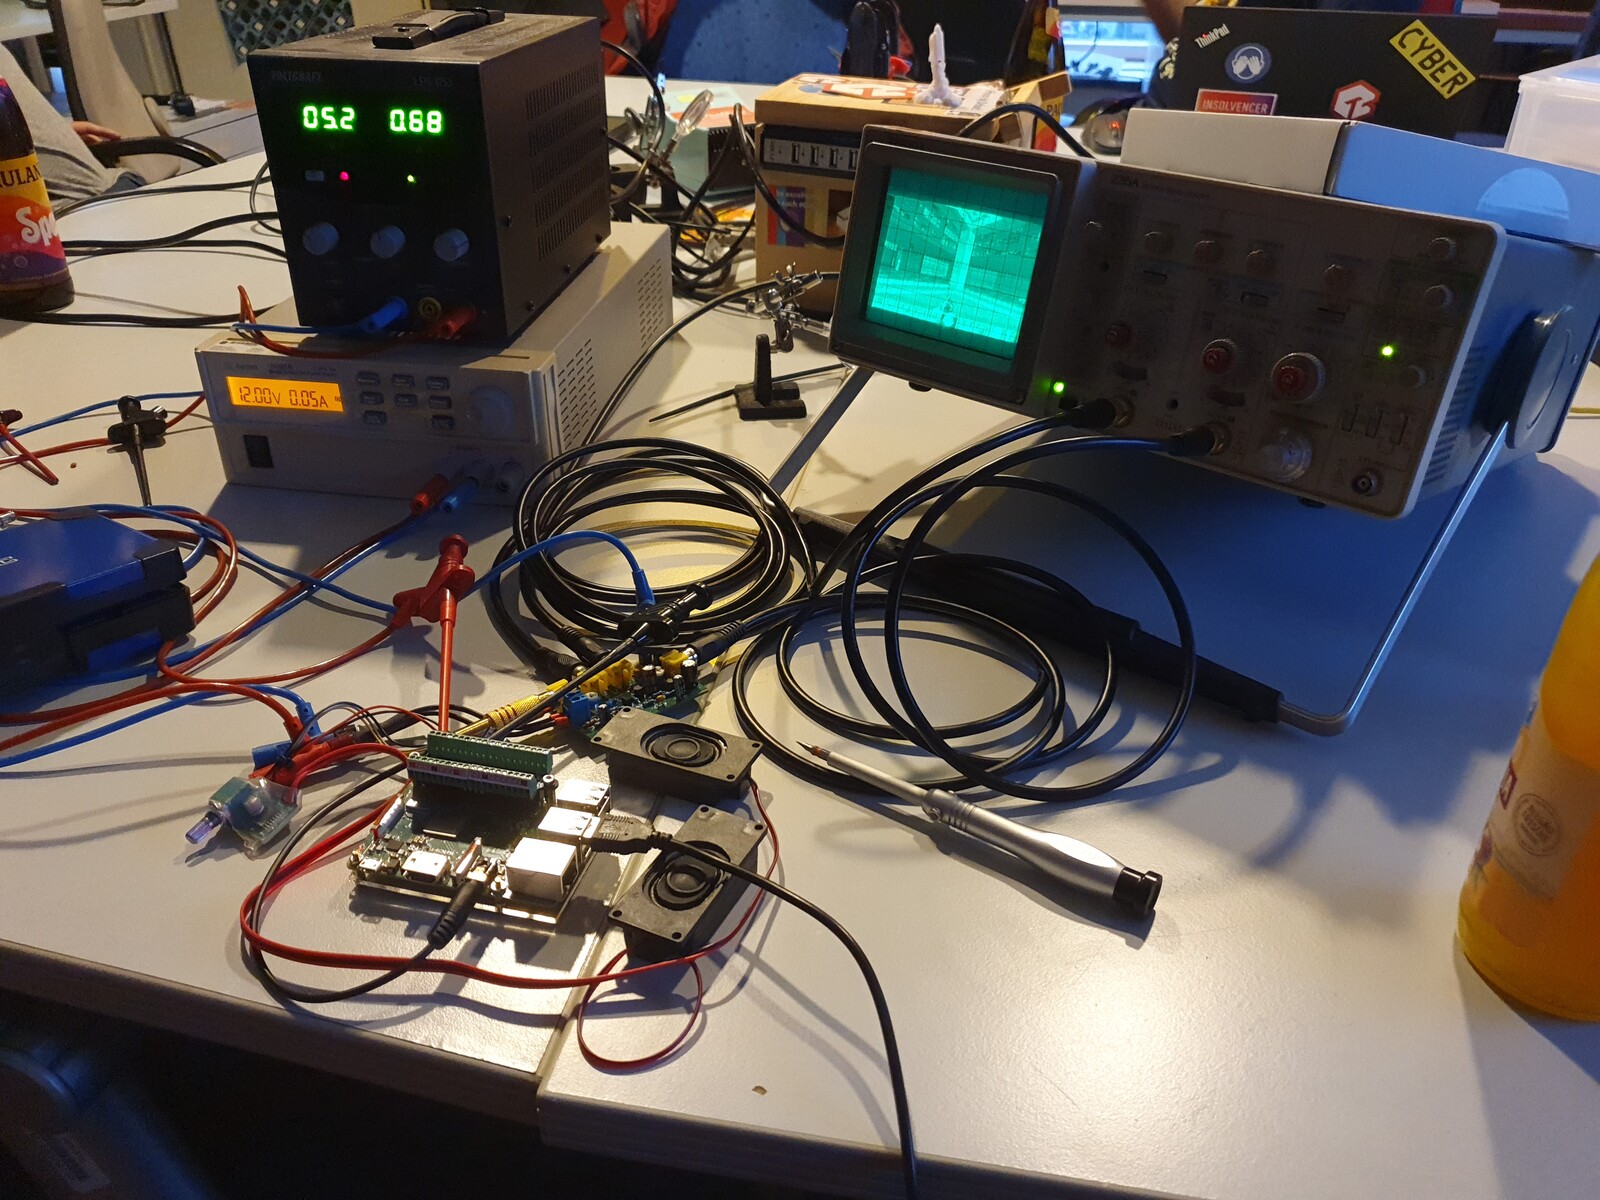
The next step was to use a Raspberry Pi 1 that I still had lying around, because of the prominent analog video output connector on there.

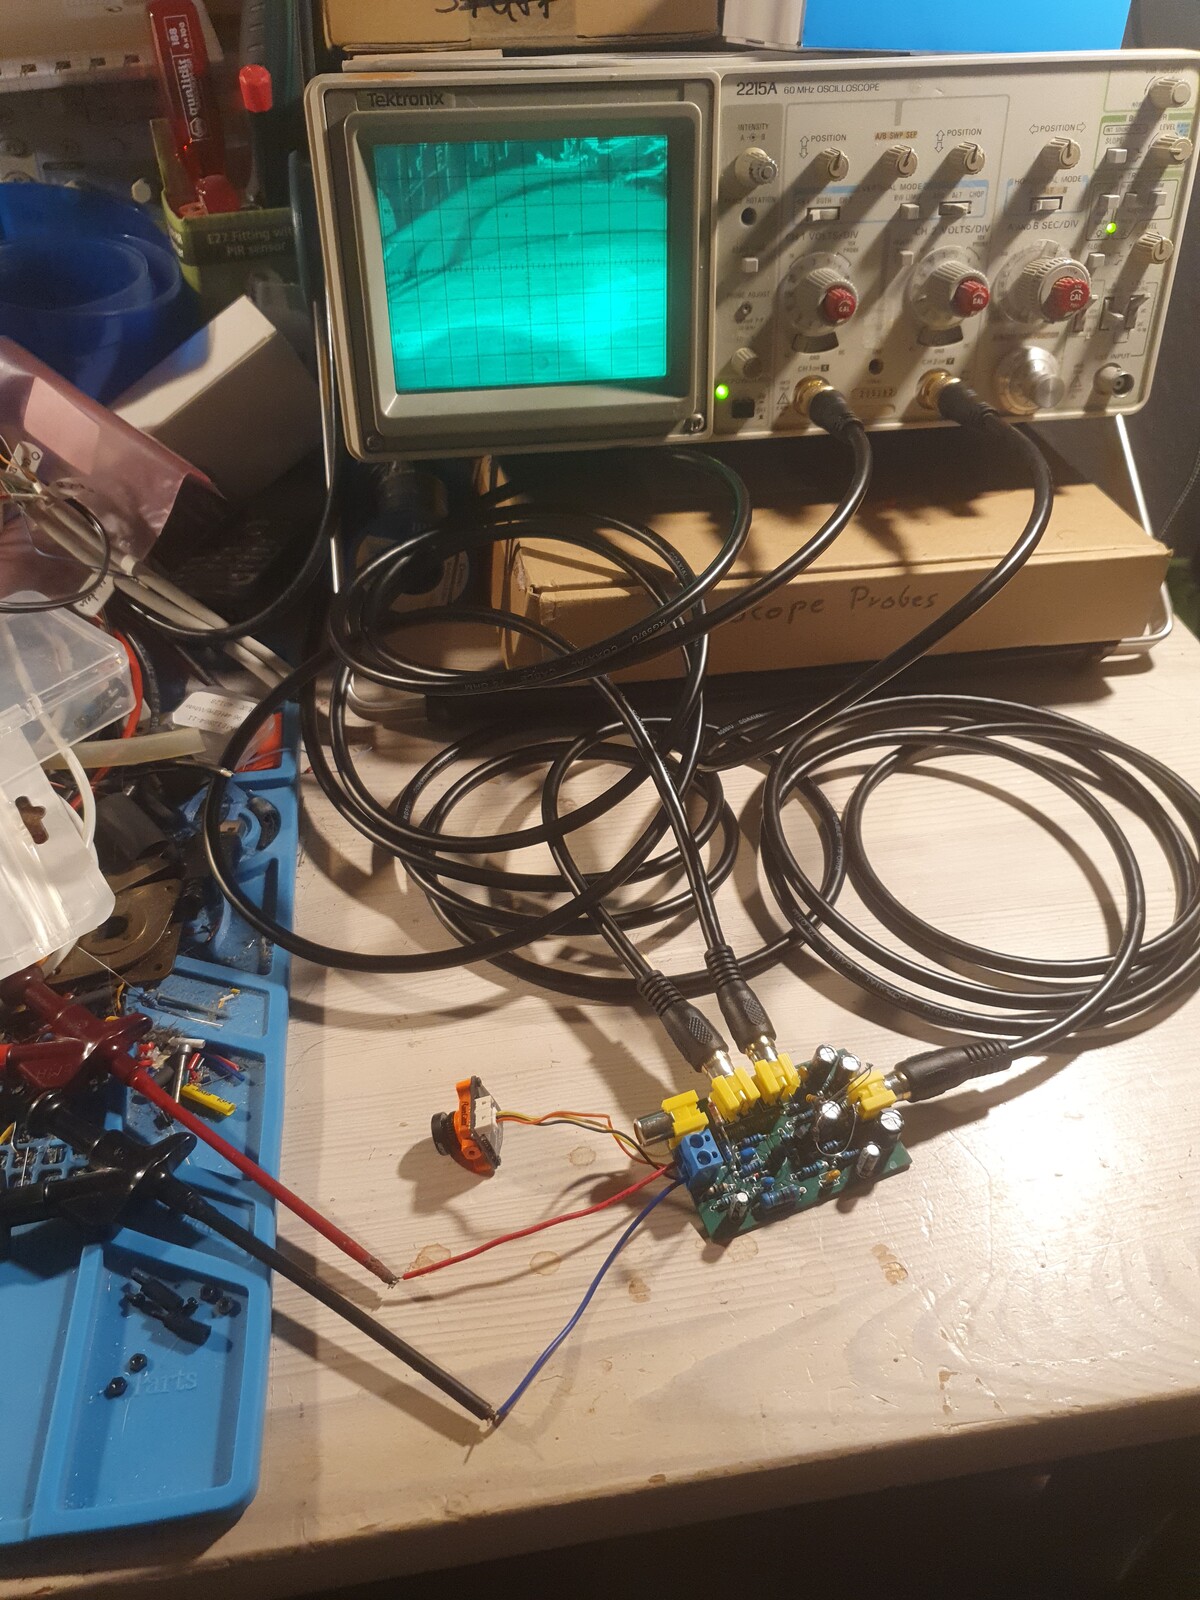
Powering it with switching voltage regulators was not a good idea. The voltage ripple on the supply lines is very visible on the output image. So next I used a lab power supply for the video converter PCB, and an official Raspberry Pi USB wall wart for 5V. I also used the opportunity to switch to a beefier Raspberry Pi 3, after I learned that it still has an AV out on the 3.5mm jack.
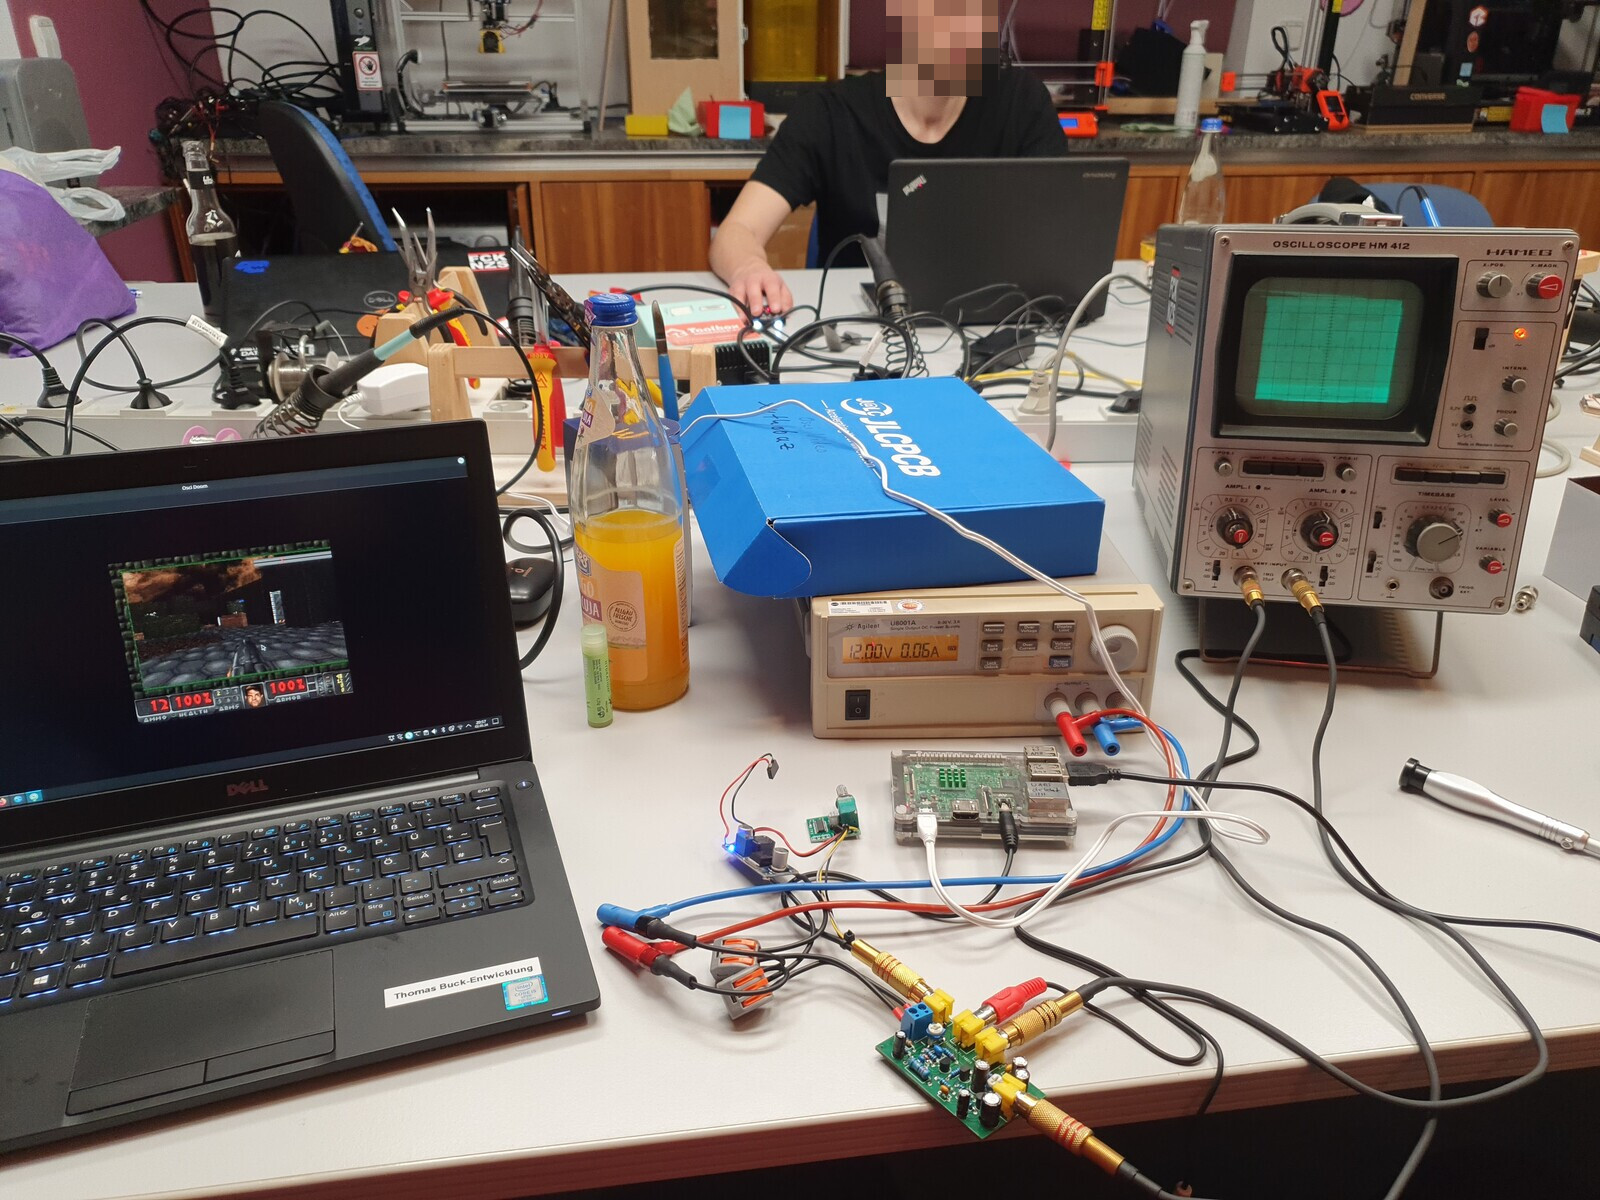
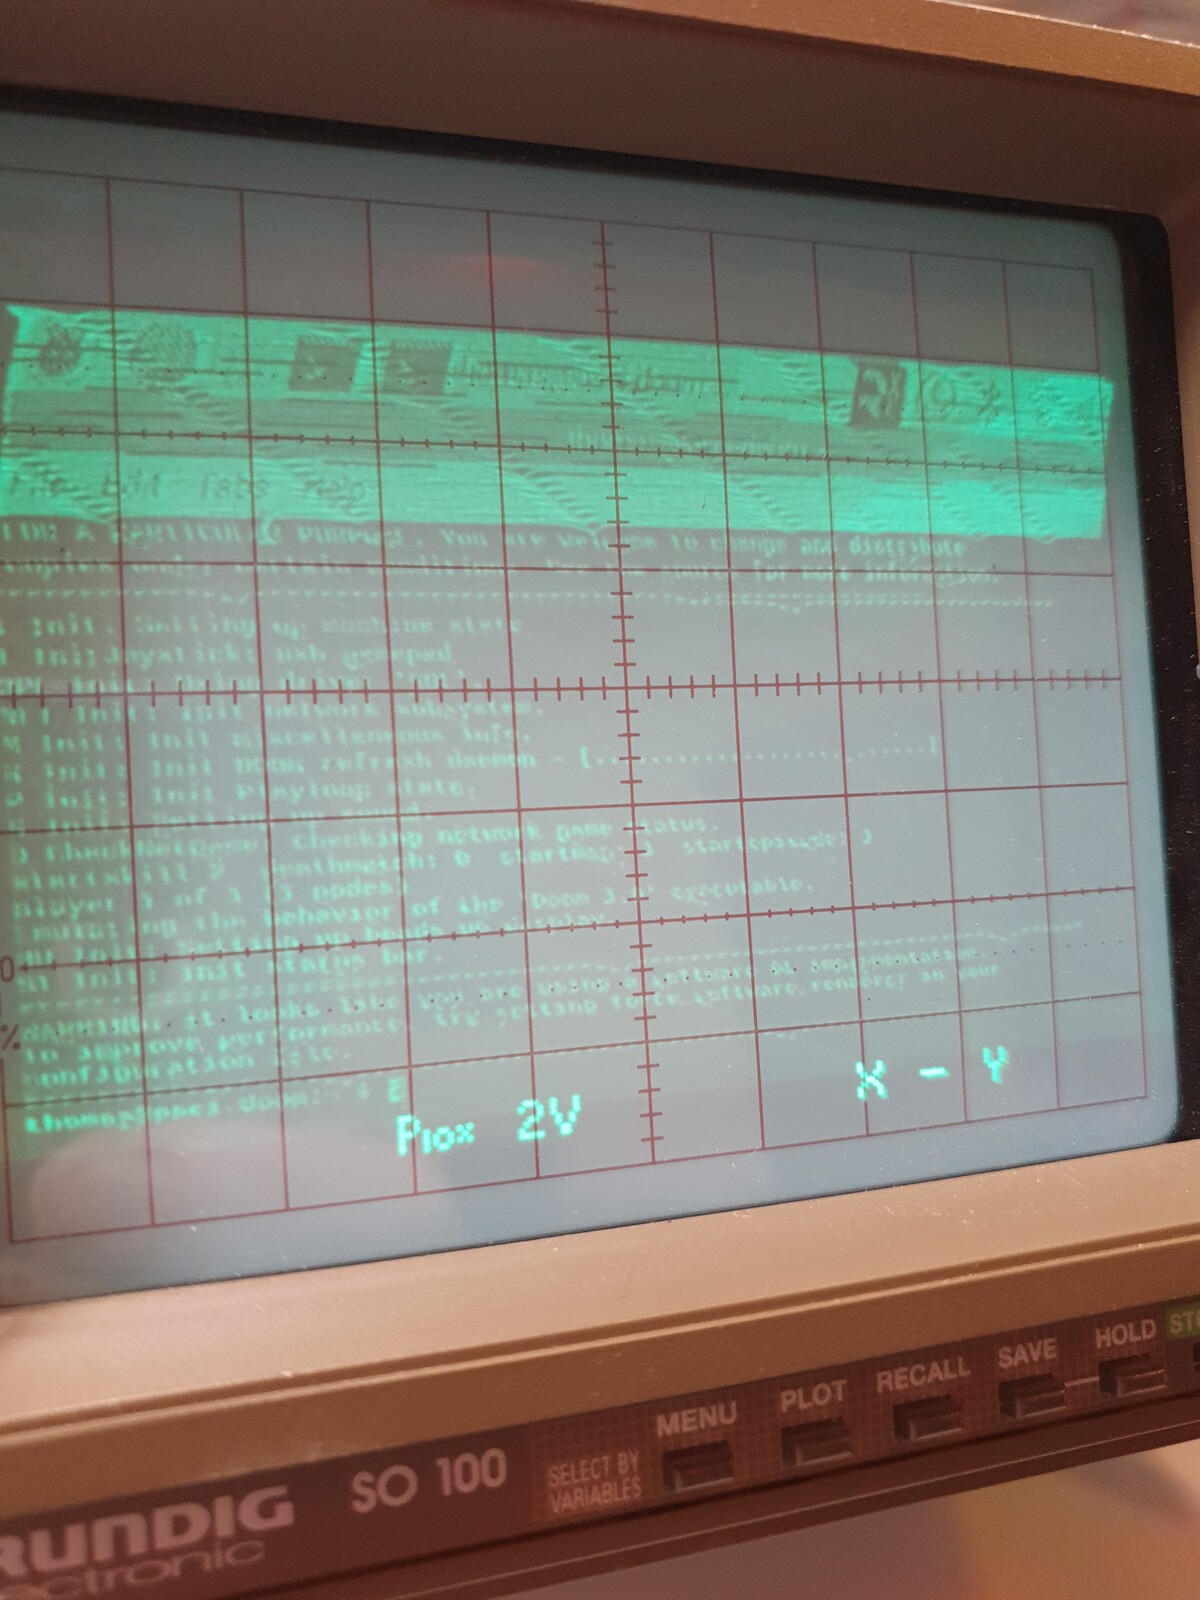
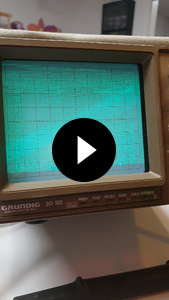
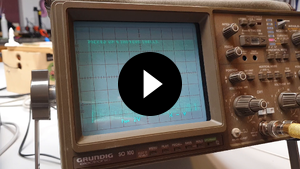
Replacing the USB power supply with another big lab power supply and dimming the room lights / providing some shade for the scope screen meant we could finally play for the first time. Philipp and I tried both Doom (chocolate-doom) and Tux Racer.
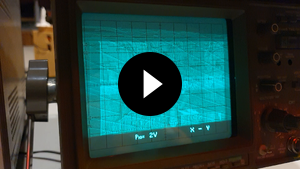
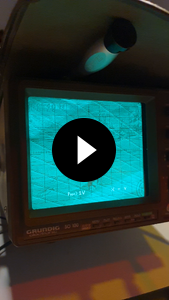
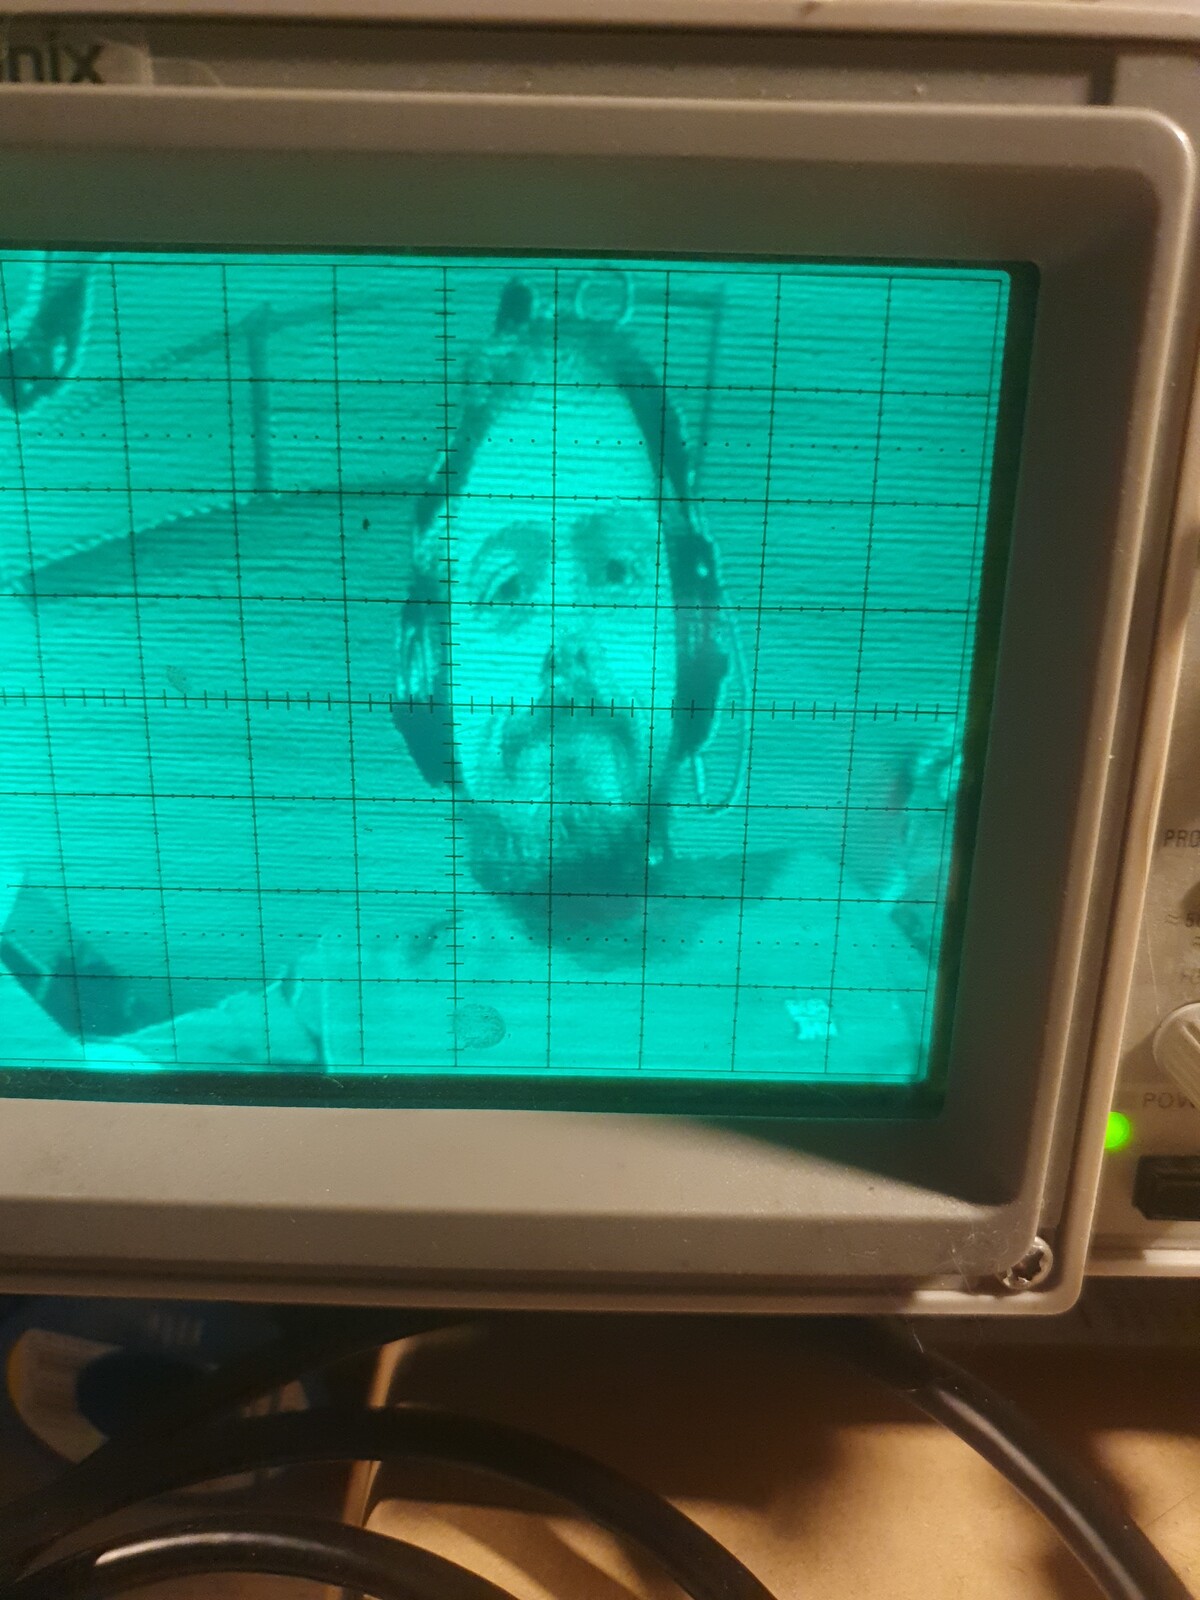
Here's another run where we actually completed the first Doom 1 Episode. I also brought my old Tektronix scope. All the scopes we tried don't have any gain control for their Z / brightness input, and the video PCB is also not that finely adjustable. With the Tektronix scope the voltage ranges and therefore contrast and brightness seem to fit best.
To have another portable setup for display in the local makerspace I planned to iterate on the case idea from my Osci Music Player. The housing should be a plastic kitchen ware container with all required connections routed to panel mount connectors.
Everything was initially planned to be powered by a USB-C PD power supply with 12V for the converter PCB and a step-down converter to power a Raspberry Pi with 5V. Unfortunately I think some more serious filtering of the regulator outputs would be needed to get acceptable image quality while using step-down converters.
For now I'm simply hooking up some high quality lab power supplies. Considering the device is always operated near an oscilloscope that should probably not be too restricting.
Though I have to admit, I'm still not quite happy with this raster approach. The high frequency audio interface of the Osci Music Player hardware could also be used to improve the visual quality of Michael Ayles' ScopeDoom.
More Videos