Logitech MX Ergo switch replacement
Fixing the dreaded doubleclick issue
Post published on July 27, 2026.After using a Logitech M570 trackball for a while I switched to their MX Ergo model while the pandemic was going on. I've been pretty happy with it, but after around three or four years, it had now developed the "doubleclick issue". Apparently it's a common problem with these devices. In my case, the switch in the left mouse button started to register false clicks when holding it down. This caused drag-and-drop or selecting text to become pretty much impossible.
To disassemble the device you can follow this great iFixit guide, but it's pretty easy and well constructed, so you'll find your way around.
The most important part is unscrewing all the torx screws in the bottom, then sliding a prying tool under the right button, and unclip the two shells all the way around, until you arrive at the left button or they pop open.
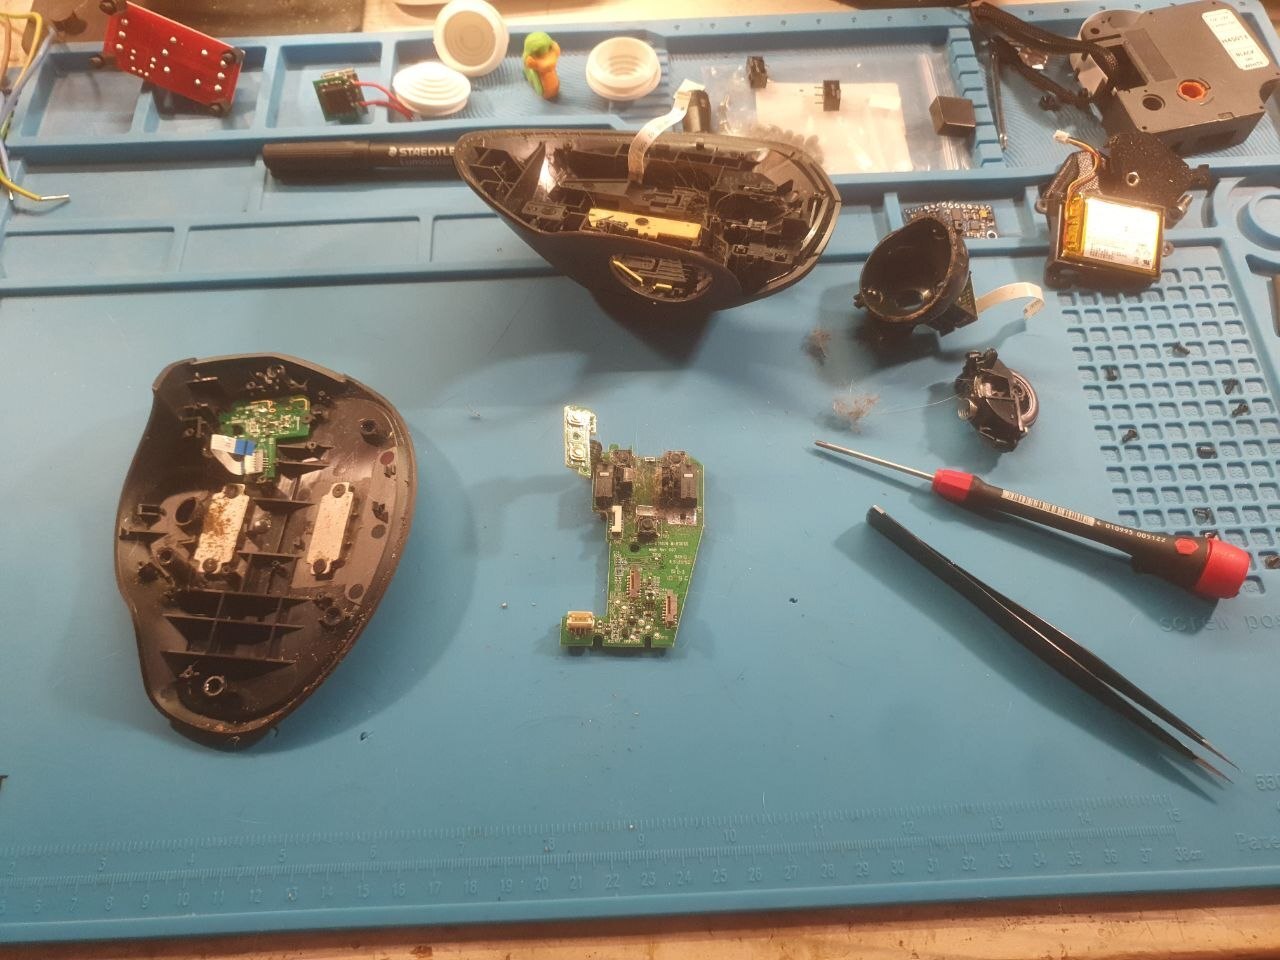
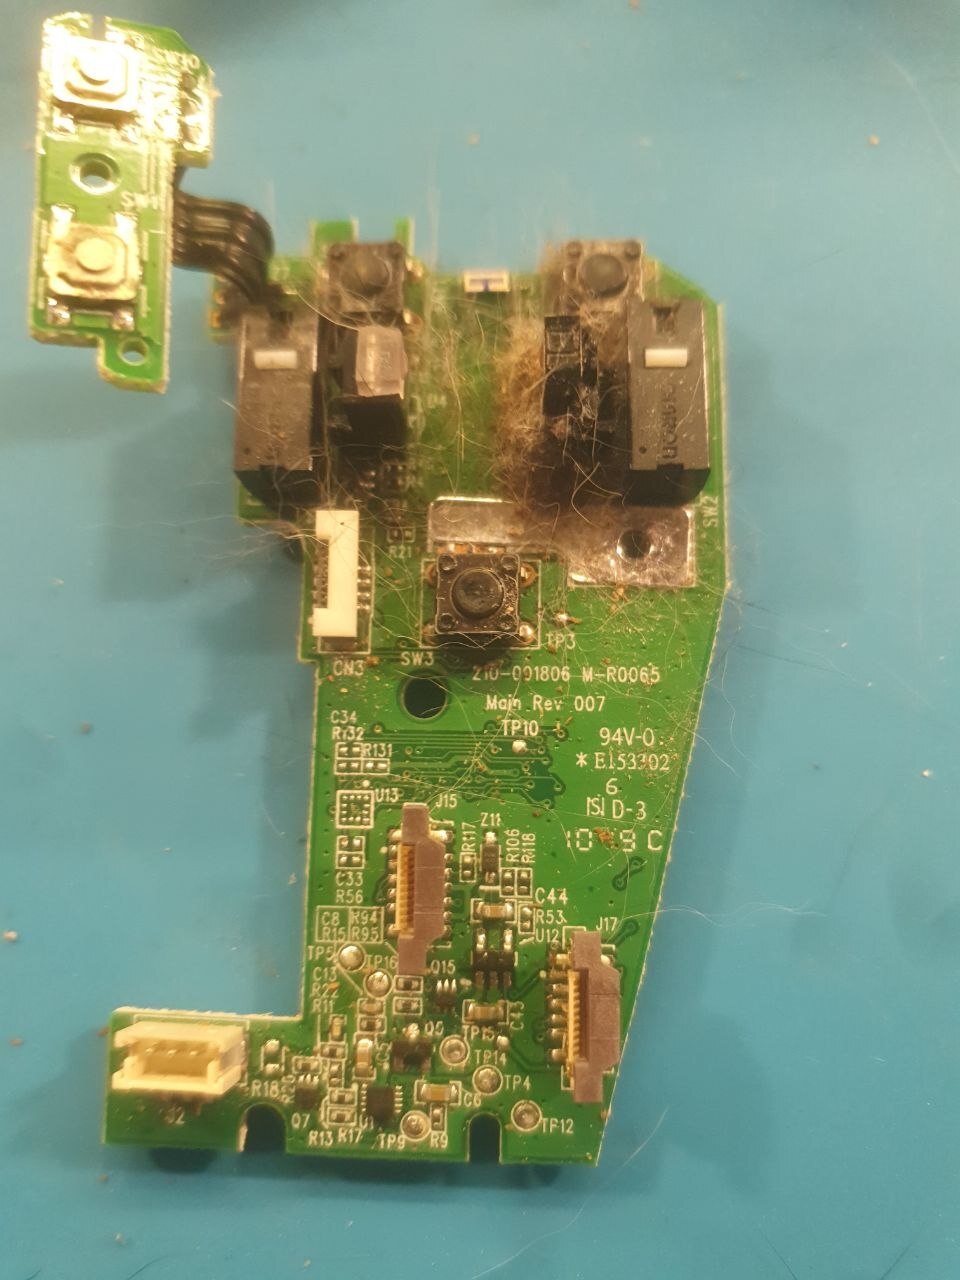
I was very surprised about the ridiculous amounts of cat hair that had built up. Even though the encoder slots in the mouse wheel were pretty much invisible, it didn't seem to interfere with anything. Of course I gave it a thorough clean.
From research I assumed that the low-force variant, OMRON D2F-01F would be the correct replacement.
But turns out, the original ones are OMRON D2FC-F-7N (10M).
So if you care to have an exact replacement, make sure to get these.
Some people also recommend Kailh GM8.0 as a replacement.
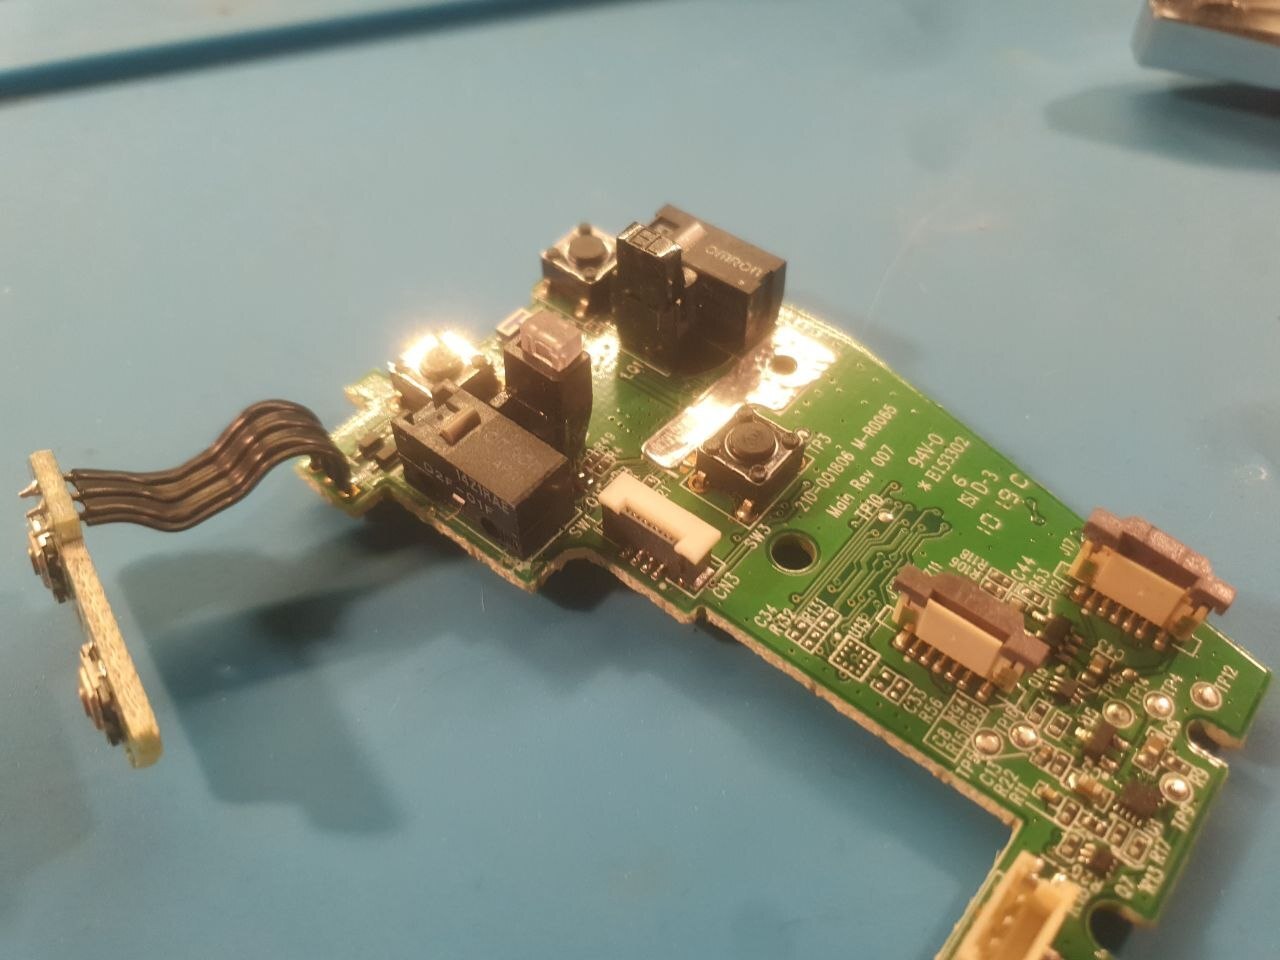
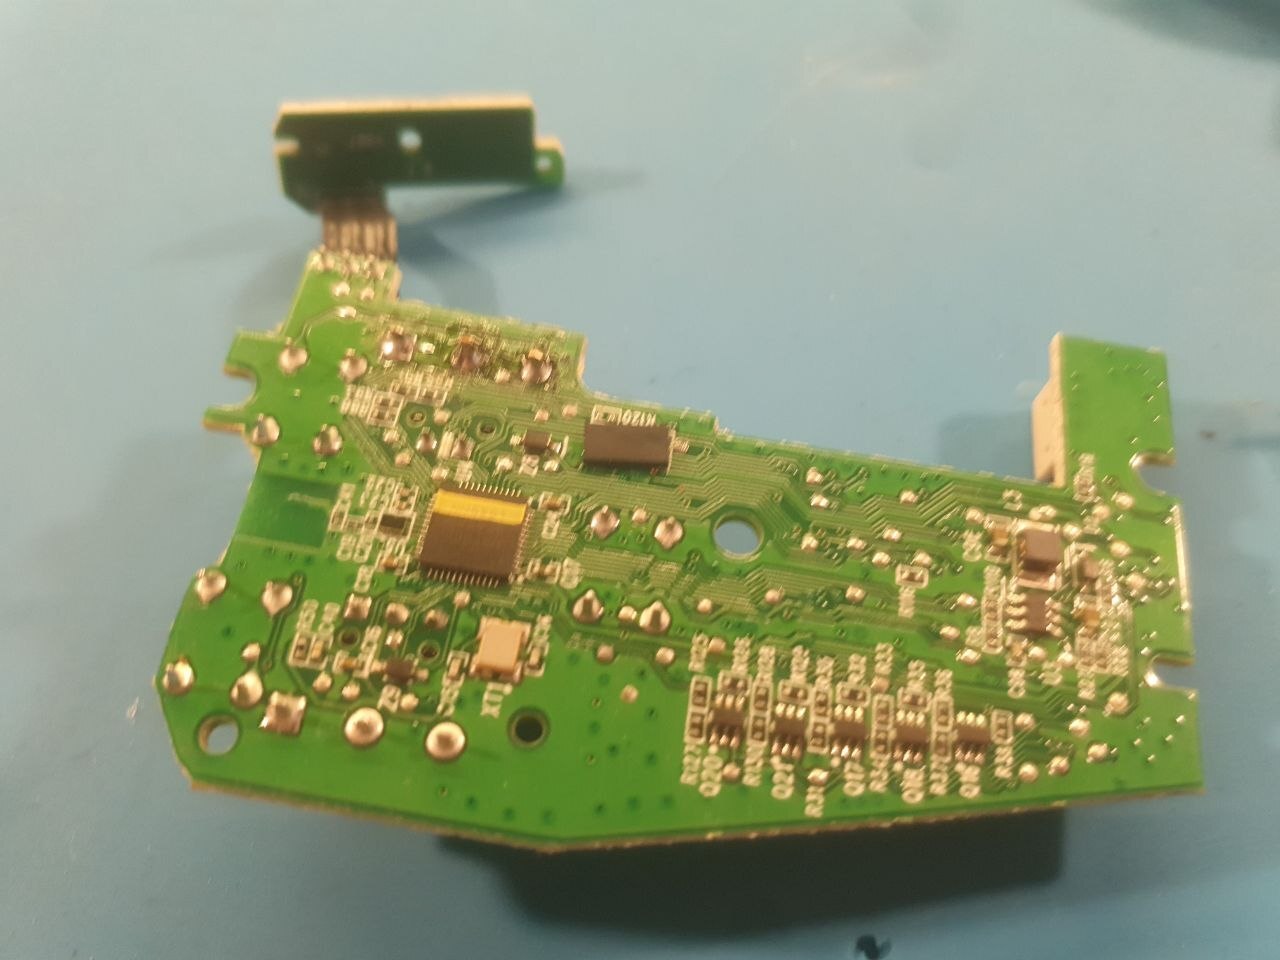
Even though I've got the "wrong" type, D2F-01F, I only replaced the left button.
It works properly now, but you can hear and feel the difference between the left and right side.
I don't really care, to be honest, so I'll probably just leave it like that.
Unsoldering the original switch is a bit tricky. I used solder wick to get rid of most of the tin, then heated each of the three switch pins, one after the other, while pressing down on them to get the switch to move a bit. Then I could get a small screwdriver between the switch and PCB, to pry a bit more, while still heating the pins. When there was enough space, I simply cut off the pins near the switch housing. Then the remaining pins can be easily unsoldered. The large ground pad is a bit tricky, due to high thermal mass. Make sure not to rip off the pad with too much force or heat.
I also noticed that the switches themselves can be disassembled, they have small plastic latches on two sides. So if you really want to, you could also try to clean the contact surfaces, instead of replacing the whole switch.

